
Blog
How to Build a Floating Deck That Will Transform Your Backyard Oasis

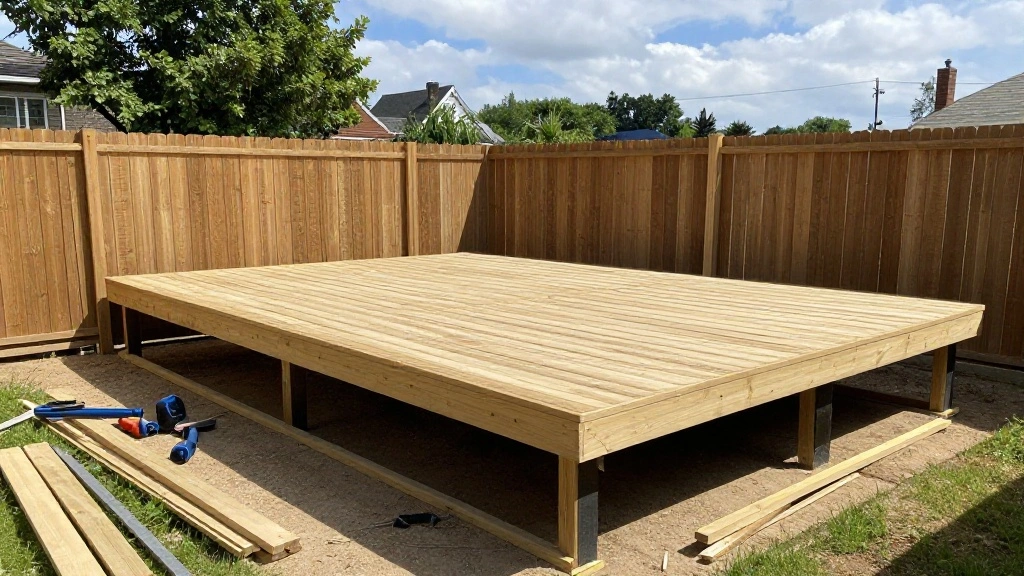
If you’re tired of looking at a dull, uninviting backyard, now is the time to act. A floating deck can transform your outdoor space into a stunning oasis that enhances your home’s value and your lifestyle. Not only does it provide a great space for relaxation and entertaining, but it’s also a DIY project that you can accomplish in a weekend with some planning and effort.
In this guide, you’ll learn how to build a floating deck that is not only functional but also visually appealing. From gathering materials to the final touches, we’ll walk you through each step, ensuring that you create a space you’ll love to spend time in. You’ll learn about the necessary tools, design options, and construction techniques that can help you avoid common pitfalls.
This project is rated as intermediate in difficulty and will take an estimated 6-8 hours to complete, depending on your pace and the size of your deck. Are you ready to elevate your backyard experience? Let’s get started!
TL;DR Summary
- Learn how to build a floating deck to enhance your backyard space.
- Gather materials and tools necessary for construction.
- Follow step-by-step instructions for efficient assembly.
- Achieve a stunning outdoor area perfect for relaxation and entertainment.
Prerequisites/Materials Needed
- Wooden Decking Boards (1″ x 6″ or similar) – 10-15 boards depending on size
- Concrete Blocks – 12-16 blocks for support
- Decking Screws (2.5″ screws) – 1 box
- Power Drill – 1
- Measuring Tape – 1
- Level – 1
- Post Level – 1
- Circular Saw – 1
- Sawhorses – 2
- Safety Gear (gloves, goggles) – 1 set
Skill Level & Time Estimate
Skill Level: intermediate
Total time estimate: 6-8 hours
Breakdown of time by major steps:
1. Planning & Design: 1 hour
2. Gathering Materials: 1-2 hours
3. Building the Frame: 2 hours
4. Laying Decking: 2-3 hours
Step 1: Plan Your Design
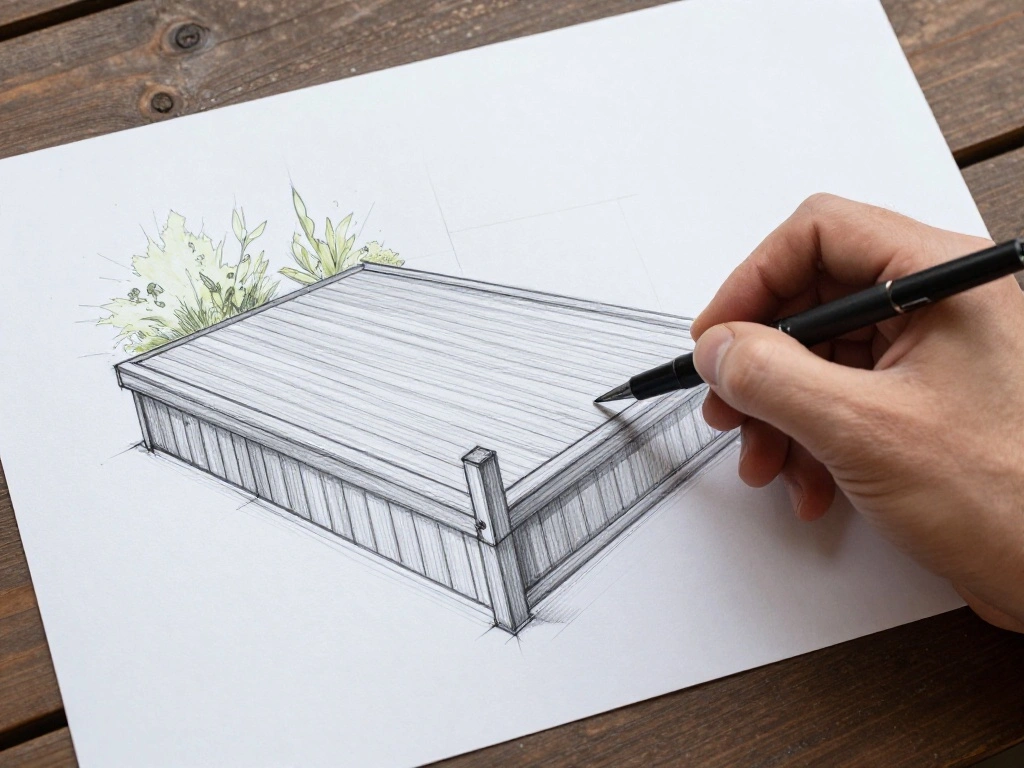
Start by planning your floating deck layout. Consider the size, shape, and location within your backyard. To ensure it fits well with your landscaping and home, do the following:
- Decide on the dimensions based on your space and needs.
- Sketch a rough design to visualize the layout.
- Check local building codes for any restrictions or permits.
Pro Tip: Use graph paper for a more precise scaled drawing.
Why this matters: A well-planned design saves time and materials, ensuring a smooth construction process.
Estimated time: 1 hour.
Step 2: Gather Materials and Tools
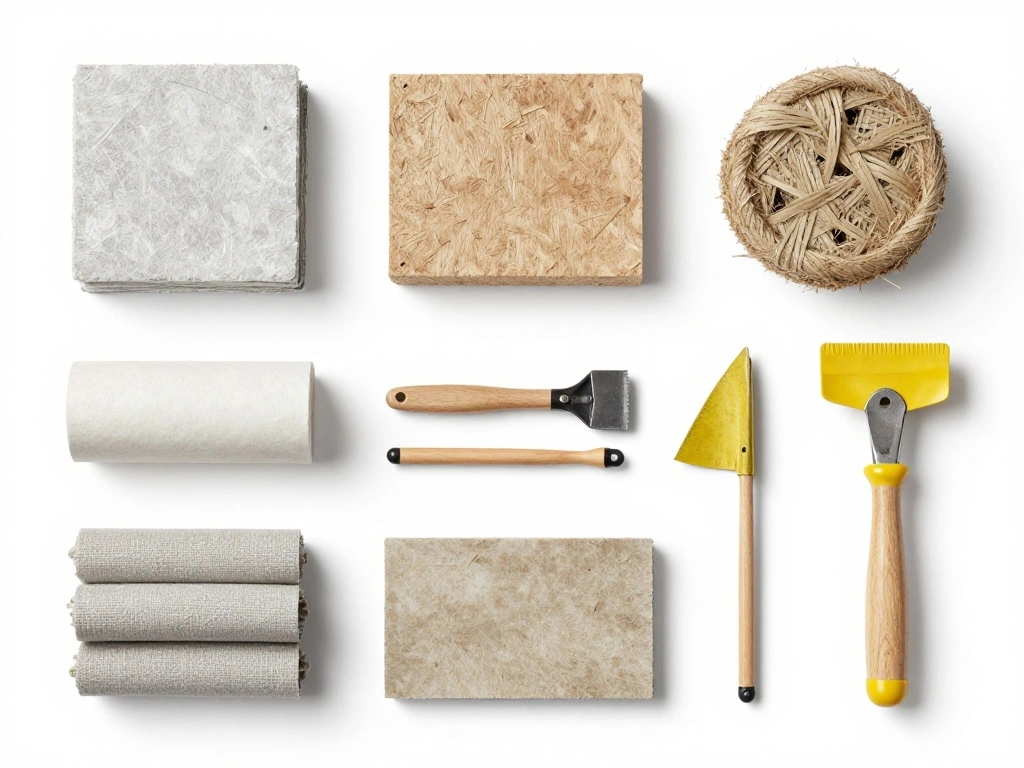
Now that you have your design, it’s time to gather all the materials and tools listed in the prerequisites. Follow these steps:
- Visit your local hardware store for all construction materials.
- Ensure you have all necessary tools ready for use.
- Check for quality and dimensions of wood and blocks before purchasing.
Pro Tip: Consider buying extra materials in case of mistakes or miscalculations.
Why this matters: Having everything ready avoids delays during assembly and keeps the project moving smoothly.
Estimated time: 1-2 hours.
Step 3: Prepare the Ground

Before you start building, prepare the ground where your deck will sit. This ensures stability and prevents future issues. Follow these steps:
- Clear the area of any debris, grass, or plants.
- Level the ground using a shovel or rake.
- Use a level to ensure the ground is even.
Warning: Uneven ground can lead to structural issues down the line.
Why this matters: A stable foundation is crucial for the longevity and safety of your deck.
Estimated time: 1 hour.
Step 4: Set the Concrete Blocks
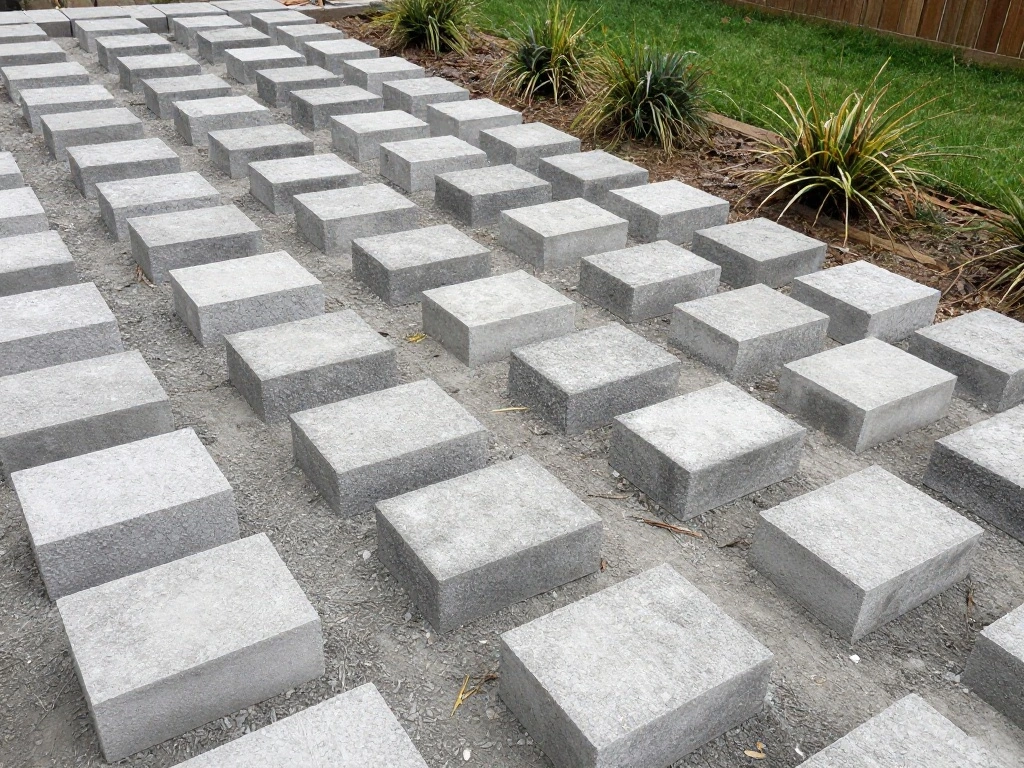
Next, you will set concrete blocks to support the structure of your floating deck. This is a critical step for stability. Do the following:
- Place concrete blocks in a grid pattern according to your design.
- Use a level to make sure each block is even.
- Leave enough space between blocks for the framing.
Pro Tip: Use a post level to check vertical alignment of blocks.
Why this matters: Properly placed blocks help ensure your deck remains level and stable over time.
Estimated time: 1-2 hours.
Step 5: Construct the Frame
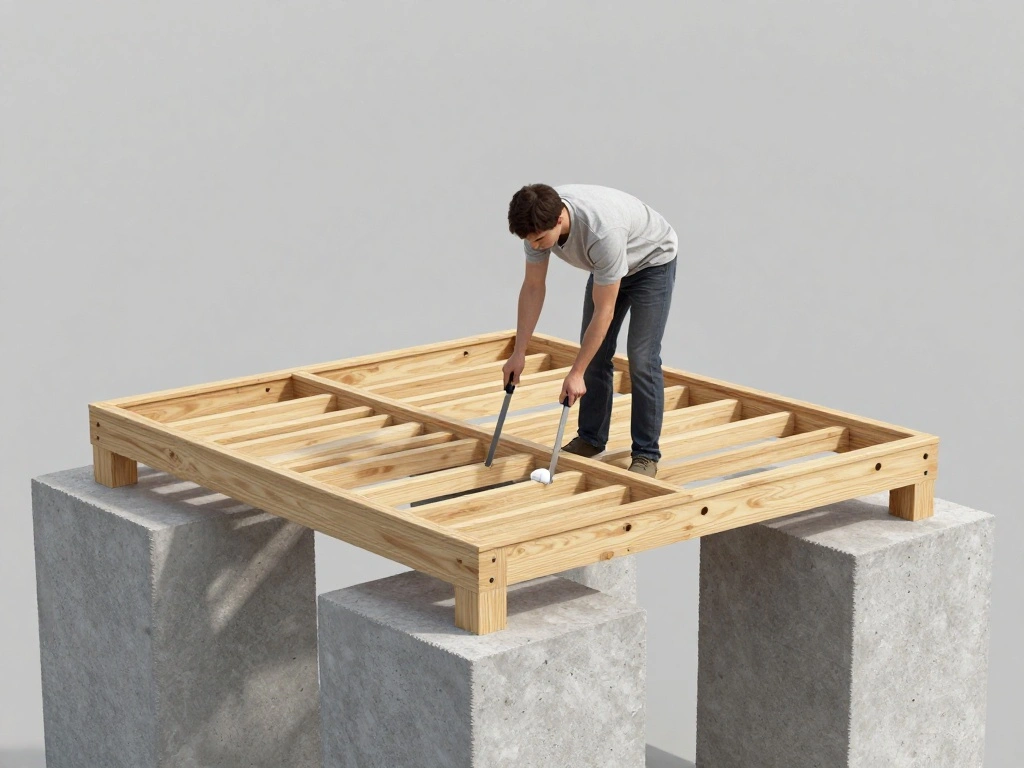
With the blocks in place, it’s time to construct the frame for your floating deck. Here’s how to proceed:
- Cut your wooden boards to the desired lengths for the perimeter.
- Assemble the perimeter frame using decking screws.
- Attach crossbeams for added support.
Warning: Ensure all screws are tightened properly to avoid any wobbling.
Why this matters: A sturdy frame is essential for the overall strength of the deck.
Estimated time: 1-2 hours.
Step 6: Lay the Decking Boards
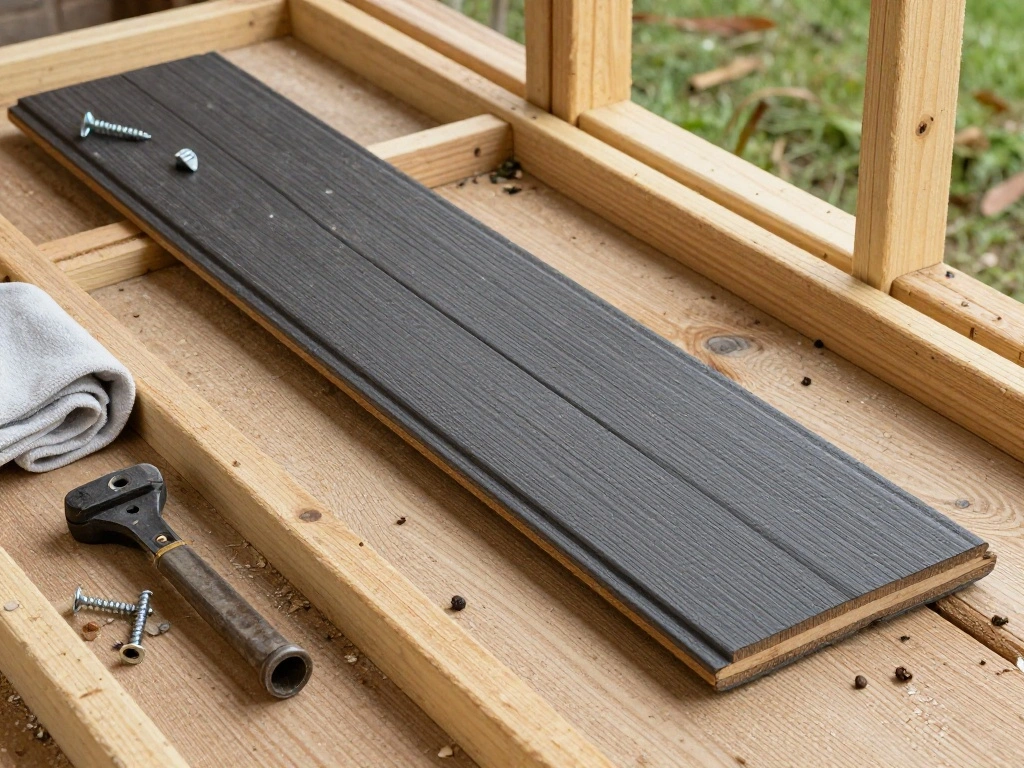
Now it’s time to lay down the decking boards, which will create the surface of your deck. Follow these instructions:
- Start from one end of your frame and place the first decking board.
- Secure it with screws, ensuring it’s flush with the edge.
- Continue placing boards side by side, leaving a small gap for drainage.
Pro Tip: Use a spacer to maintain consistent gaps between boards.
Why this matters: Proper spacing prevents water buildup and allows for expansion and contraction of wood.
Estimated time: 2-3 hours.
Step 7: Add Finishing Touches
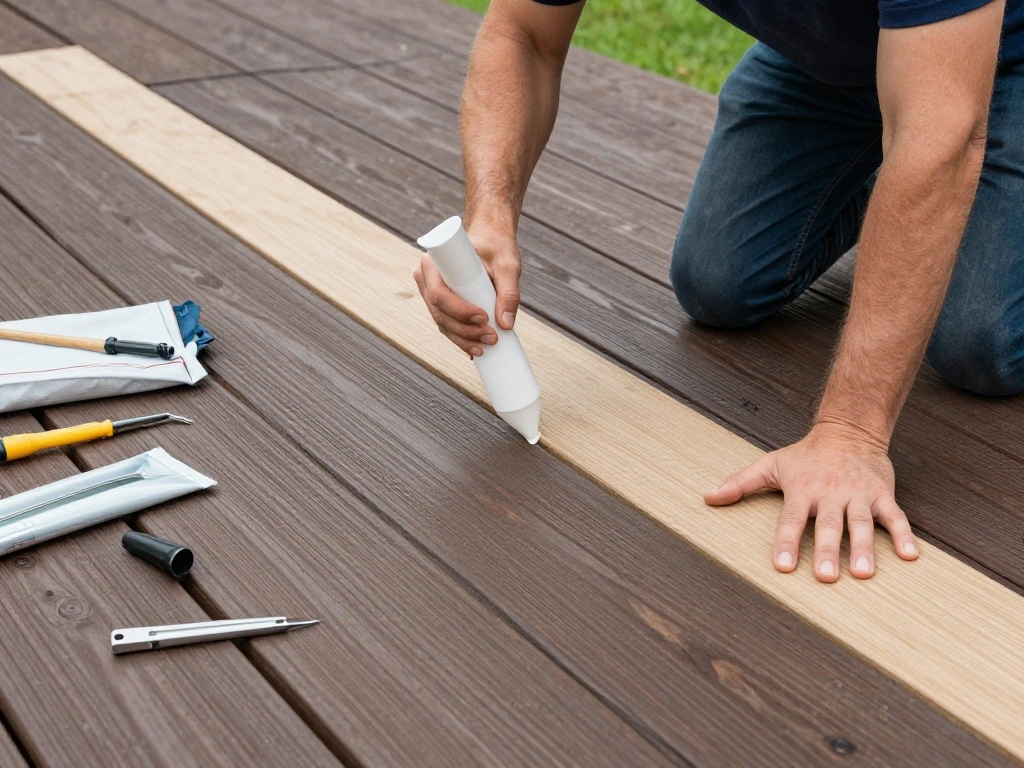
With the decking boards laid, it’s time to add the finishing touches that will enhance the appearance of your deck. Do this:
- Sand any rough edges on the boards for safety.
- Apply a weather-resistant sealant for protection against elements.
- Consider adding railings or decorative elements as desired.
Pro Tip: Choose sealants that match your desired aesthetic and provide durability.
Why this matters: Finishing touches improve the longevity and look of your deck, making it more enjoyable.
Estimated time: 1 hour.
Step 8: Clean Up the Area
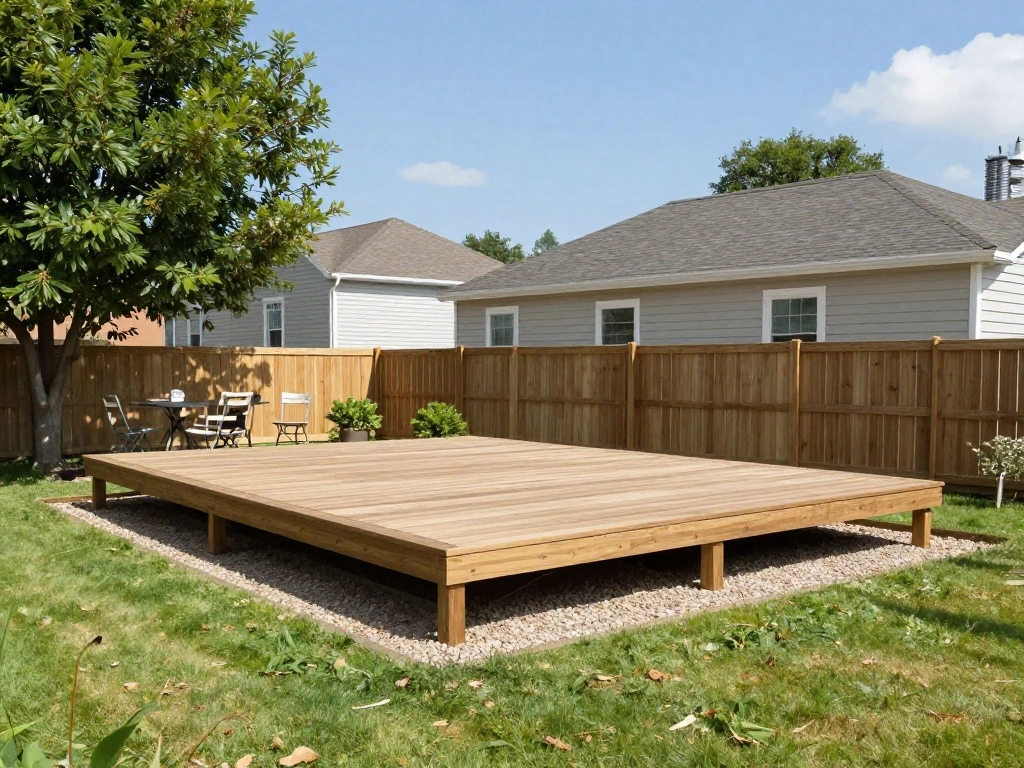
After finishing your deck, it’s important to clean up the construction area. Here’s how to do it:
- Remove any leftover materials and debris from the site.
- Store tools properly in your garage or shed.
- Inspect the area for any hazards and ensure it’s safe.
Warning: Leaving tools or debris can lead to accidents.
Why this matters: A clean space not only looks better but also keeps your family safe.
Estimated time: 30 minutes.
Step 9: Enjoy Your New Deck
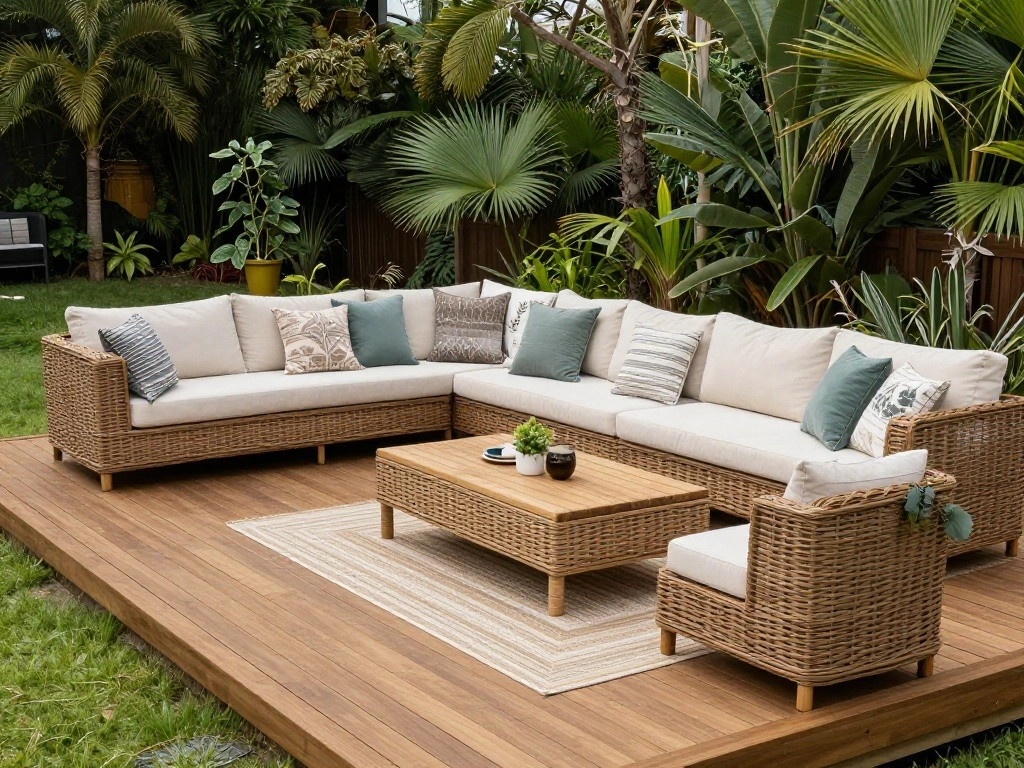
Finally, it’s time to enjoy your new floating deck! Here’s how to make the most of it:
- Set up outdoor furniture for relaxation.
- Add plants or décor to enhance the aesthetic.
- Invite friends and family over for gatherings.
Pro Tip: Consider adding outdoor lighting for evening enjoyment.
Why this matters: Using your deck creates memories and enhances your outdoor living experience.
Estimated time: Ongoing.
Step 10: Maintain Your Deck
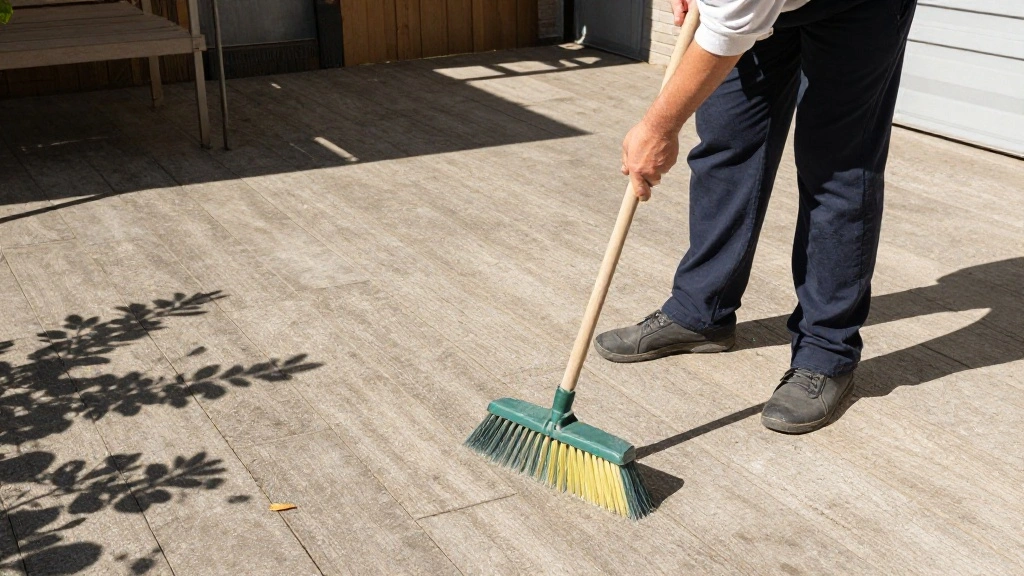
To ensure your floating deck lasts for years, regular maintenance is key. Follow these steps:
- Inspect the deck for signs of wear or damage regularly.
- Clean the surface periodically to prevent mold and grime buildup.
- Reapply sealant every few years based on exposure to weather.
Warning: Neglecting maintenance can lead to serious structural issues.
Why this matters: Regular care prolongs the lifespan of your deck and keeps it looking great.
Estimated time: Ongoing.
Pro Tips
- Plan for Future Use: Consider how you’ll use the deck and plan its size accordingly.
- Choose the Right Wood: Select rot-resistant wood for longevity, like cedar or redwood.
- Invest in Quality Tools: Using high-quality tools can make the process easier and yield better results.
- Weather-Resistant Coatings: Use coatings that protect against UV rays and moisture.
- Consult Local Experts: Don’t hesitate to ask for advice from your local hardware store if you’re unsure about materials or techniques.
Common Mistakes to Avoid
Warning: Skipping Ground Preparation: Not leveling the ground can lead to structural issues later on.
Warning: Incorrect Measurements: Always double-check your measurements to avoid waste.
Warning: Poor Material Choices: Cheap materials may lead to quicker deterioration.
Warning: Neglecting Local Codes: Failing to check regulations might result in fines or necessary removals.
Warning: Rushing the Project: Take your time to ensure each step is done correctly for safety and durability.
Troubleshooting Section
Problem: The deck feels wobbly.
Solution: Check all screws and ensure the blocks are level. Reinforce any weak areas with additional supports.
Problem: Boards are warping.
Solution: Ensure proper spacing and ventilation. Consider using more durable wood or applying sealant.
Problem: Too much water pooling.
Solution: Adjust the slope of the deck to promote drainage.
Problem: Insects or pests.
Solution: Use natural repellents or treatments designed for outdoor wood.
Problem: Deck boards squeaking.
Solution: Tighten screws and ensure boards are securely attached.
Variations/Alternative Methods
Option 1: Elevated Floating Deck: If you have a sloped yard, consider building an elevated deck with support beams and stairs.
Option 2: Modular Decking: Use pre-made modular deck tiles that snap together for easy installation.
Option 3: Composite Materials: Consider using composite decking materials for low maintenance and durability. Each option has its pros and cons regarding cost, complexity, and longevity.
FAQs
What if I don’t have a level ground? You can build a floating deck on a slight slope by using adjustable blocks or adding a frame to accommodate the incline.
How long should I wait before using my new deck? It’s best to let the sealant cure for at least 24-48 hours before heavy use.
Is it safe to build a floating deck myself? Yes, as long as you follow safety guidelines and building codes, DIY is safe.
What type of wood is best for outdoor use? Cedar, redwood, and pressure-treated wood are excellent choices for outdoor decking.
How often should I maintain my deck? Inspect your deck at least twice a year and clean it as needed to prevent damage.
Conclusion

Congratulations on building your floating deck! You’ve not only created a beautiful outdoor space but also added value to your home. Enjoy it with family and friends, and take pride in your accomplishment. Remember, regular maintenance will keep your deck looking its best for years to come.
Looking ahead, consider adding furniture, plants, or outdoor lighting to enhance your oasis further. You can also explore additional landscaping options to complement your new deck. Your backyard is now a perfect place for relaxation and making memories!


